반응형

플러터(Flutter)를 이용한 달력을 구현해 보겠습니다. 플러터(Flutter)에서 달력을 사용하기 위해서는 먼저 TableCalendar을 설치해야 합니다.

Android Studio Terminal 및 cmd를 사용해서 커맨드를 입력합니다.
Flutter pub add table_calendar별 문제 없다면 정상적으로 설치되며, 설치되어 있다면 버전을 확인할 수 있습니다.

Project에서 pubspec.yaml파일로 이동 후 dependencies 항목 아래쪽에 'table_calendar: ^3.0.9'을 입력합니다. 처음 설치 시 확인된 버전을 입력하면 됩니다.

이제 패키지를 로드해야 합니다. import를 사용해서 패키지 정보를 입력합니다.
import 'package:table_calendar/table_calendar.dart';정상적으로 TableCalendar이 설치되어 있다면 패키지가 비활성화됩니다.

main.dart 파일로 이동 후 하단에 있는 build 함수에 TableCalendar을 선언합니다.
 return Scaffold(
      appBar: AppBar(
        // Here we take the value from the MyHomePage object that was created by
        // the App.build method, and use it to set our appbar title.
        title: Text(widget.title),
      ),
      body: TableCalendar(
        firstDay: DateTime.utc(2010, 10, 16),
        lastDay: DateTime.utc(2030, 3, 14),
        focusedDay: DateTime.now(),
        ),
      );
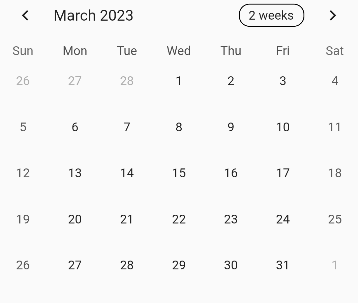
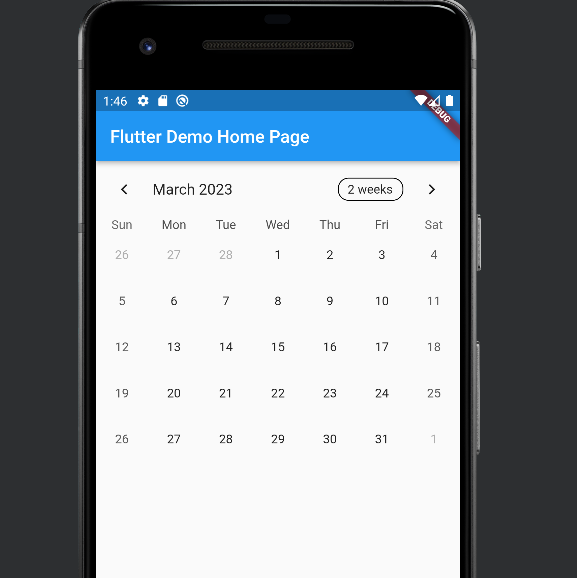
firstDay, lastDay, focusedDay를 기본적으로 입력하면 최대, 최소 기간을 설정할 수 있고, 실행 시 오늘 날짜로 이동합니다.

정상적으로 컴파일되면 Android화면에서 TableCalendar UI를 확인할 수 있습니다. 감사합니다.

반응형
'IT 나라 > 프로그램 이야기' 카테고리의 다른 글
| [IntelliJ] IntelliJ에서 GitHub 계정 연동 방법 (0) | 2023.11.27 |
|---|---|
| 플러터(Flutter) TableCalendar 라이브러리 한글 변경 (0) | 2023.05.12 |
| 엘라스틱서치 Elastic Search 8.4 버전 Windows 설치 방법 (0) | 2022.08.30 |
| 무료 REST API 테스트 클라이언트 Talend API Tester (0) | 2022.08.11 |
| Android Error @string/appbar_scrolling_view_behavior (0) | 2021.08.20 |